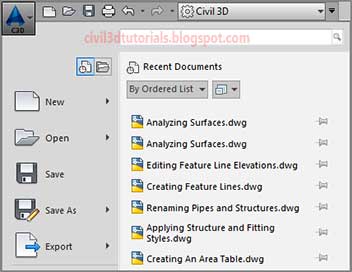
The application menu, expands out from the square AutoCAD Civil 3D icon located at the top left of your screen. Here, you’ll find commands for creating, opening, saving, and printing your drawing files.
 |
| Part of the Civil 3D Application menu. |
Tips:The Quick Access Toolbar just to the right of the AutoCAD Civil 3D icon is a handy subset of your most commonly used general-purpose tools. It can be customized to add more tools if you like.
To use the application menu to open a file, follow these steps:
- Launch Civil 3D by double-clicking the (in this example) Civil 3D 2014 Imperial (Metric) icon on the desktop of your computer.
- Click the application menu icon. Click Open, and then click Drawing.
- Browse to the Exercise_01 class data folder, and open User Interface.dwg or (User Interface.dwg (METRIC)).
- Open the application menu once more, and investigate the commands that are listed there. You’ll notice that most of them have to do with creating, opening, saving, and printing drawing files.
- Keep this drawing open for the next exercise.
It’s All in How You Look At It
This drawing, like many other drawings you’ll open while working through this book, is set up with three viewports. The one on the left is top-down, or
plan view, showing the entire project. The one in the top right is also plan view, but it is zoomed in to a different part of the drawing. The lower-right viewport is a
3D view. These are three views of the same design, and what happens in one will happen in the other two. Think of it as three cameras showing three different viewpoints of the same subject with each viewport being like a television monitor.


